Monday, August 16, 2010

MIA Advanced Notice

Hey everyone, guess what?? 

MY MOM'S COMING TO VISIT ME THIS WEEK!!!!!

Have I ever mentioned how much my mom rocks?  I mean, I love her because she's my mom (duh), but I really like her as a person too...I'm told that's not always the case, but I don't remember a time when I ever *didn't* like my mom as a person (ok, minus that one time she didn't let me go to the mall when I was 16 or something).  

A few cool things about my momma: 
* She ran the Austin marathon a couple years ago...just up and decided one day that she wanted to do it, so she did.  Before she turned 50. 
* Last we checked, she can still fit in her Girl Scout uniform...from when she was 18.  I'm not sure I could even claim the same. 
* She rarely does anything for herself - she's always off to some charity thing or some volunteer whatsit, and when she's not taking care of strangers, she's taking care of her mom, her husband, her kids, etc.  Most days I think this makes her happy, too...how awesome of a person is that? 
* She's been the wife of a military man for over 31 years!  31!  That's a long damn time!  
* Before college, she'd only ever lived in one house, her whole life.  Kinda makes the whole military wife thing even more incredible, huh? 
* I have two quilts in my house right now that she made, and at least 2 more in Texas that are her work as well.  There are dozens of kids around the greater San Antonio area who have tote bags made just for them, by her hands. 

There are like a billion other awesome things everyone should know about my mom, but a) I'm at work and b) she'd be embarrassed if I talked her up too much more so I'll refrain.  Suffice it to say, she's the best. And she's coming to visit.  I am SO excited. 

In any case, given the amount of cleaning/painting/prepping/other stuff I need to do this week, it's gonna be a light week for entries - sorry!  I'm sure next week will be full of pictures though! 


And just to tide you over til next time, here are a couple pictures of the ceremony programs: 
 This time with ribbon, and the right direction!
And the inside.  I realize there are a lot of names on here, but if you can somehow steal my or anyone else on here's identity based on the fact that they're in my wedding...you probably deserve it. 

Sunday, August 15, 2010

More Wedding Stuff

Oh what, like my poor little brain has room for anything else in it right now? Sheesh.

 First, holy buttons!  I got this cool jar at a consignment store this week and thought it would be perfect for the purpose.
 Setting up the last of the flowers for the corsages.
 Gluing the stems.
 Laid out all purdy like.
 I made little tags to make sure I've got all the important people covered.
 Jimmy's has a special button to match Alishia's bouquet...they're not together, we just have a thing with pirates.  :-)
 Stems wrapped, ready for ribboning.
 Done!
 All the boutonnieres and corsages, done!
 Tons of leftover squares...I think I'm gonna make a quilt out of these at some point. 
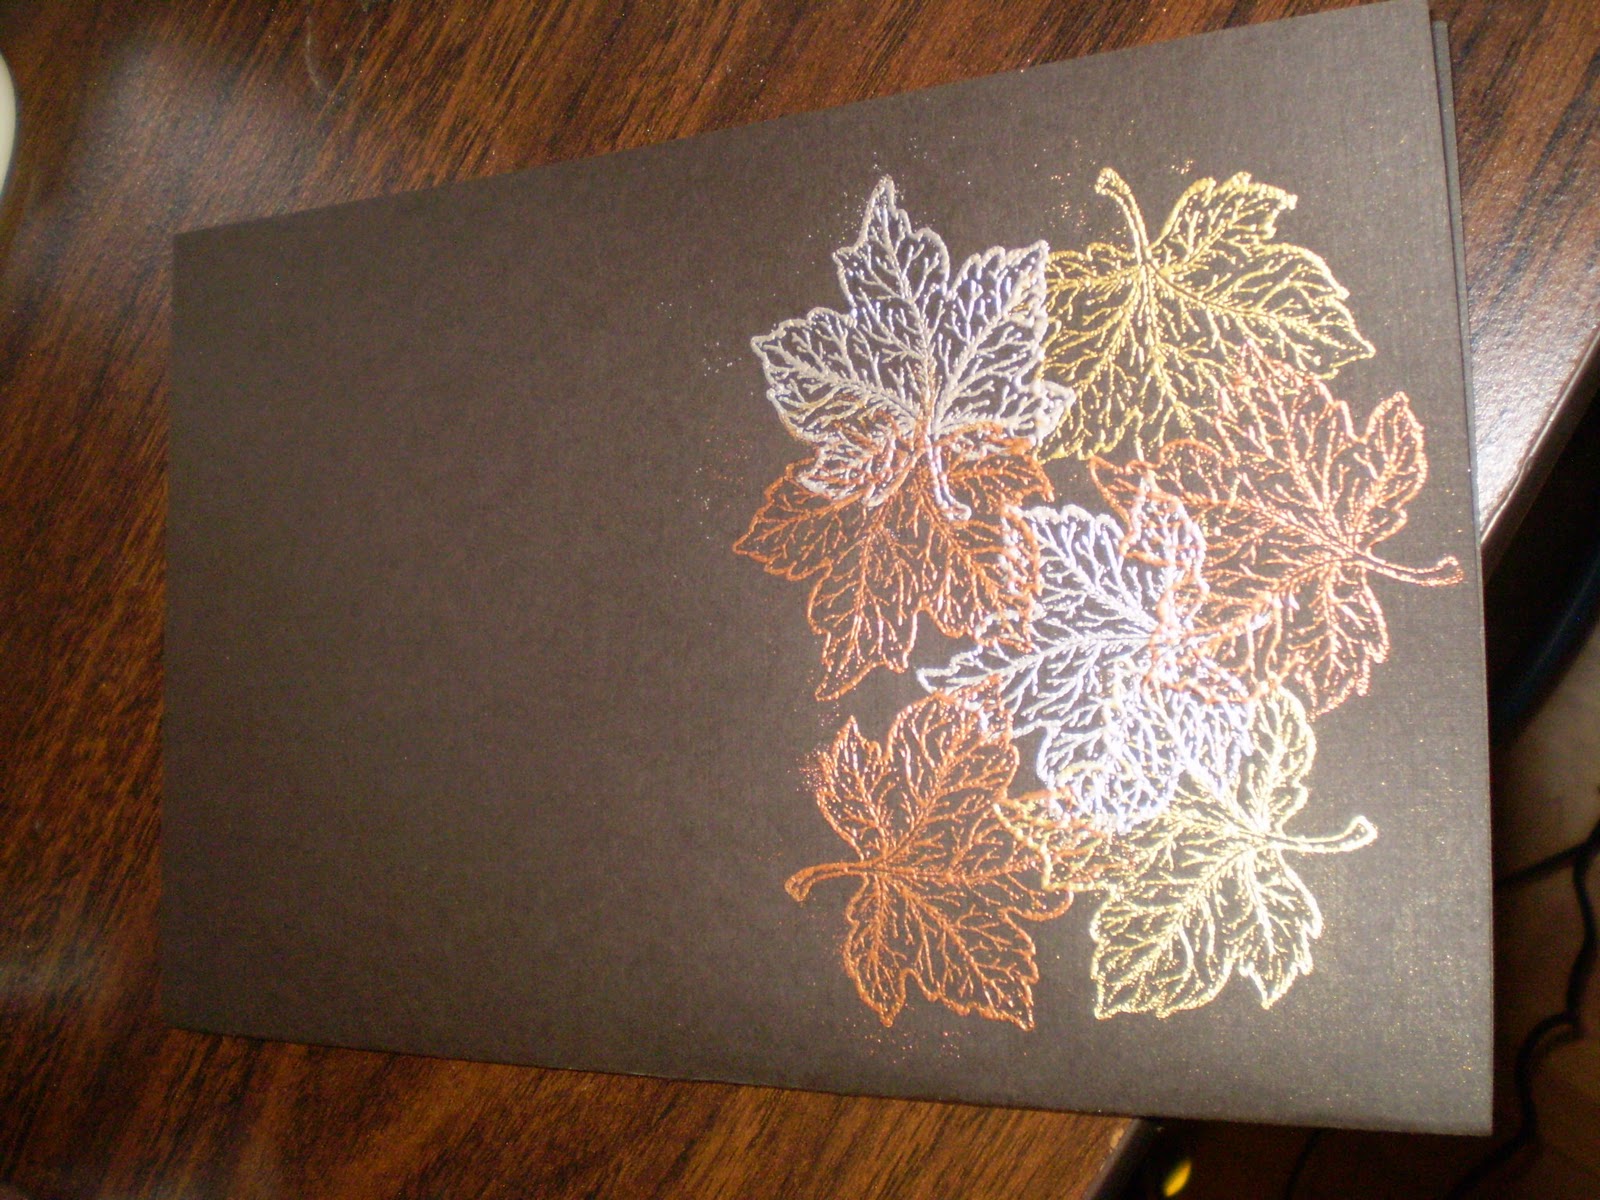
 Playing around with embossing. 
Here's embossing on the covers for the ceremony programs.  I'm hoping to get a stamp made to have our names and the date, for the top.  I'm not sure if I'm excited about this design or not...we'll see.   For now, I think I'll go work on something else.  Maybe even a quilt!

Thursday, August 12, 2010

Pushing Buttons

Ok, maybe it's more like "obsessively buying vintage buttons".  I got 3 whole packages full yesterday!!  I cannot express how GIDDY the metal ones made me.  They're so cool!!!  Some look like old roman or spanish coins, some look like buttons from battle uniforms...I'm kind of jealous of whoever gets these in whatever thing I make for them. 

I've just created a new label so I can track the cool supplies I have for people to request if anyone ever wants to buy my silly flower thingies. I have so many ideas of how to make these more trendy...I just don't have the time to make that happen right now.
Here are the last of the flowers I need to make for the wedding!  I think they're the last anyway.  These are the ones I need for the corsages, which are the last things I need to make, unless I'm forgetting something. 

Since the crayon idea was a bust (crayons + linens = Kat pays for replacements), I've come up with a new idea which I'll share as soon as I have pictures. 

I ordered paper yesterday to make thank you notes.  It's a lighter color than the invites, so I have some more flexibility with what I can do with them. The next major undertaking is going to be the ceremony programs.  Print, fold (cardstock and paper), hole punch twice, attach with orange ribbon, come up with something creative for the cover (maybe the leaves,  maybe not...I'm getting kind of bored with them, so maybe I'll switch it up this time).

Before this turns into a massive to do list, I'll spare you.  Today after work, we have a company-sponsored 5k run. I haven't run in about a month, so it could be a trainwreck.  I've got my Nike+ though, so that'll help.  I hope.  Maybe I should go upload some new music...

On that note, have a good day! :-)


Monday, August 9, 2010

Design Stuff Monday

All things considered, it was a productive weekend.  MOTU got back from his 2-week long roadtrip around 4 AM on Sunday morning, which meant I had a few extra hours in the name of "waiting up until my man gets home" to do stuff besides clean.  Here's the rundown:

 Hooray eBay!  I got a whole slew of vintage buttons to make flowers with...now if someone would kindly buy one of my etsy listings, I can use them!  I'm debating learning to make button bouquets after the wedding, since those seem to be what's hot right now.  Ick, but it if it's your thing, it's your thing.

 The successful crayon project.  Kaleidoscope mini-muffin crayons.  They're pretty, but I'm not sure what I'll do with them since it seems crayons are a discouraged item to have in close proximity to the linens at the wedding.  Hum.
 The unsuccessful crayon project.  This went as you'd expect...the whole thing is a giant red glob and isn't nearly as pretty as I'd hoped. Let's not speak of this ever again.
 A finish! Ish! This is the top for Mai's quilt.  I even got it quilted this weekend!  All I need now is to trim the borders and put on some binding, and that baby's ready to go off to college! (Mai, if you're reading this, sorry to ruin the surprise...)

The pink quilt (which I'm calling "Valentine's Day Blues", putting a blue flannel pieced backing on, and selling on etsy as soon as it's done) is still up on the wall.
 Kini seems to think this bed is hers now.  My mom made me this quilt a few years ago when I was redecorating after a particularly nasty breakup.  She's awesome like that.  Whipped this up inside a week.  My mom rocks.
 Shelby has been getting ever more adventurous - this was last night, the windows from the kitchen to the screened-in porch.
And this was when I was eating pizza in the living room.  No joke. There's a shelf behind that door, and she just spies on me from there, thinking she's all sneaky. It makes me giggle every time.

And, rounding out the critter cam, Grisgris has found his place in my sewing room.  Right now, 2 of the 3 are passed out within arm's reach.  Life is good.  :-)

Friday, August 6, 2010

Holy Crayola!

So I've been requesting crayons for a couple of mystery projects, and posted an ad on Craigslist...yesterday I got a HUGE bag from a woman who's apparently a teacher of some kind, and Monday I got a back from a coworker/mother of 2.  Here's the stash:

Oy.  So I started chipping them with a knife and soon realized that I was going to end up with blisters or missing fingers.  So I put a few from a few colors into plastic baggies and got MOTU's sledge hammer (what?  It was on the desk.)
So that's the damage so far.  In true dogchild fashion, Kini ate up all the waxy crumbs that exploded all over the floor.  I'm expecting fabulously colorful poop this evening. 
And, in closing, Shelby has been surprisingly friendly as of late.  In fact, all the critters are slowly but surely closing the gap in their personal bubbles, which is only a little bit disconcerting.

Thursday, August 5, 2010

Mini Flower Tutorial

So, bearing in mind that I borrowed inspiration for these from this tutorial, here's my version.


1. Start with squares of whatever size you'd like.  For this flower, these squares are 2x2 inches.  The completed flower is about 1.75 inches across.  For the flowers I've been using my bouquet and on the basket, I started with 4x4 inch squares, and the flowers are about 3.5 inches across.  You can use as many petals as you'd like, but I've found that 5 or 6 works best.


2. Fold the squares into quarters:
 3.  Cut along the raw edges to turn the squares into circles.  They don't need to be perfect circles, but the more rounded the edges, the more "horizontal poof" they'll have.  Yes, that is the technical term.

4. Starting on the side with two folds (right, in this picture), use a basic basting stitch along the curve.  Make sure to keep the same distance from the curve the whole way (so follow the curve, don't go straight across).  The folds should be about equal in size, so when you start and finish the petal, make sure you're the same distance from the edge on both ends, and you've started and finished about half the length of a fold from the edge.  So for example, if the desired amplitude (hush, I was a math major) is half an inch, start and end a quarter inch from the side.
 5. Repeat step 4 for all the petals.

 6. Complete the circle by following the thread back through the first and second petals.  Make sure you start the needle as close to the knot as possible, to minimize any awkward pulling.  Pull the thread tight, but do not tie off.  Lay the flower down and mold the petals with your fingers so they gather in the way you'd like.  Once you've achieved the right look, pull out any excess thread and tie off (I usually use one of the folded edges to base my tie-off knot). 

7. Make peace with your glue gun (I know, I know, it hurt you last time...but you *did* throw it against the wall, so you're sort of even).
8. Put a dot of glue in the middle of the flower, big enough to hold the button but not so big that it'll leak out.

9.  Place your button into the middle of the glue and gently press.  Let it sit for a minute or two to cool.

 10.  Turn the flower over, put another (smaller) dot of glue in the middle on the back.  Poke a piece of floral wire into the glue and let cool.  The length of the floral wire will be determined by your needs (if you need it at all).

11. Hold it up, be proud, and show it off!  Just make sure the glue is really cool before you try sticking it in your hair...


Here's how the final products looked for me:

Boutonnieres 
Bouquets


Wednesday, August 4, 2010

Photo Shoot

Nothing special, just using a different backdrop than my sewing machine.

 The tossing bouquet is finally done!
 Alishia's bouquet (pirate button on the back)
 Anna's bouquet (MOH)
 Jen's bouquet
 My bouquet
 The basket, loaded with the BP bouquets
 Same thing, different angles


All 5 bouquets loaded into the basket.  The whole thing is starting to look like a real flower arrangement.  I'm tempted to make the church arrangements, but I really don't want to make another 100+ flowers, especially if they're going to just be donated to a church who may not ever use them again.